Cisco Custom ISO MISSING_DEPENDENCY_VIBS ERROR during upgrade ESXi 6.7 -> 7.0

I found a problem and workaround to fix Cisco Custom ISO MISSING_DEPENDENCY_VIBS ERROR during upgrade 6.7 -> 7.0.
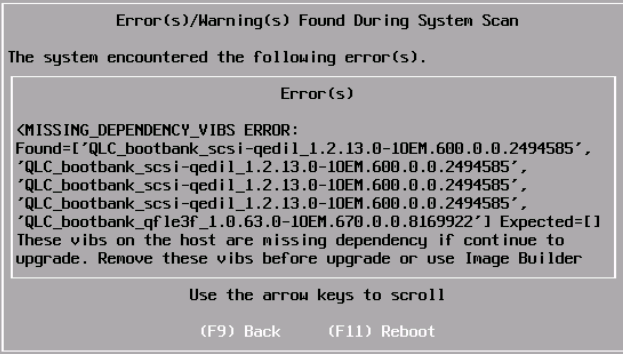
It was during these type of upgrade from VMware_ESXi_6.7.0_13006603_Custom_Cisco_6.7.2.1.iso to VMware_ESXi_7.0.0_15843807_Custom_Cisco_4.1.1a.iso

Workaround is to remove VIBs with dependency collision:

# esxcli software vib list | grep QLC
qcnic                          1.0.22.0-1OEM.670.0.0.8169922         QLC 
qedentv                        3.9.31.0-1OEM.670.0.0.8169922         QLC 
qedrntv                        3.9.31.1-1OEM.670.0.0.8169922         QLC 
qfle3                          1.0.77.2-1OEM.670.0.0.8169922         QLC 
qfle3f                         1.0.63.0-1OEM.670.0.0.8169922         QLC 
qfle3i                         1.0.20.0-1OEM.670.0.0.8169922         QLC 
scsi-qedil                     1.2.13.0-1OEM.600.0.0.2494585         QLC 

# esxcli software vib remove -f -n scsi-qedil
# esxcli software vib remove -f -n qfle3f
# reboot

How to fix? The CPU in this host is not supported by ESXi 7.0.0. -> allowLegacyCPU=True

Thank You William for these Quick Tip.

On my HomeLAB I have older server with NOT supported CPU for ESXi 7.0. During install I had an error:

The CPU in this host is not supported by ESXi 7.0.0.

CPU_SUPPORT ERROR:
The CPU in this host is not supported by ESXi
7.0.0. Please refer to the VMware Compatibility Guide (VCG) for
the list of supported CPUs.
Only possibilty is F11 Reboot.

FIX – The CPU in this host may not be supported in future ESXi releases …

It could be fix during boot SHIFT-O:

allowLegacyCPU=True
SHIFT-O will open options for boot:
With adding > allowLegacyCPU=True. Installer will convert an error to a warning.
Now we have only Warning – Enter will continue.
CPU_SUPPORT WARNING:
The CPU in this host is not supported by ESXi
7.0.0. Please refer to the VMware Compatibility Guide (VCG) for
the list of supported CPUs.

\UPGRADE\PRECHECK.PY

On ISO image VMware-VMvisor-Installer-7.0.0-15843807.x86_64.iso is \UPGRADE\PRECHECK.PY script which is checking it during instalation.

On line 1720 we could see our solution allowLegacyCPU = True

Disclaimer: This is not officially supported by VMware and you run on your own risk.

vSphere Lifecycle Manager Convert Baselines -> Image

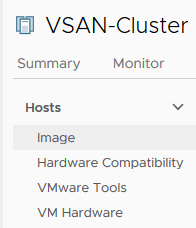
After sucessfull ESXi 7.0 upgrade. We can start using vSphere Lifecycle Manager and convert VUM Baselines -> vLCM Image.

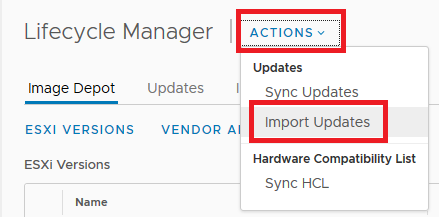
ACTION – Import Updates
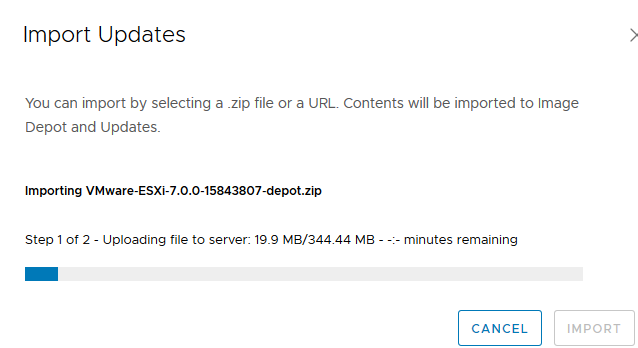
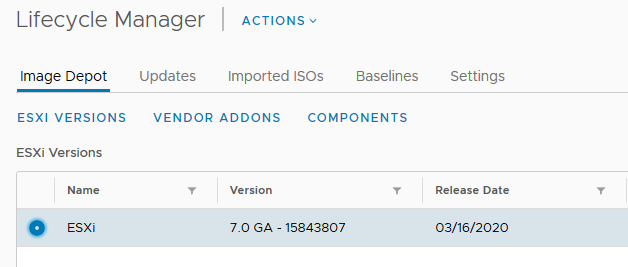
Import VMware-ESXi-7.0.0-15843807-depot.zip
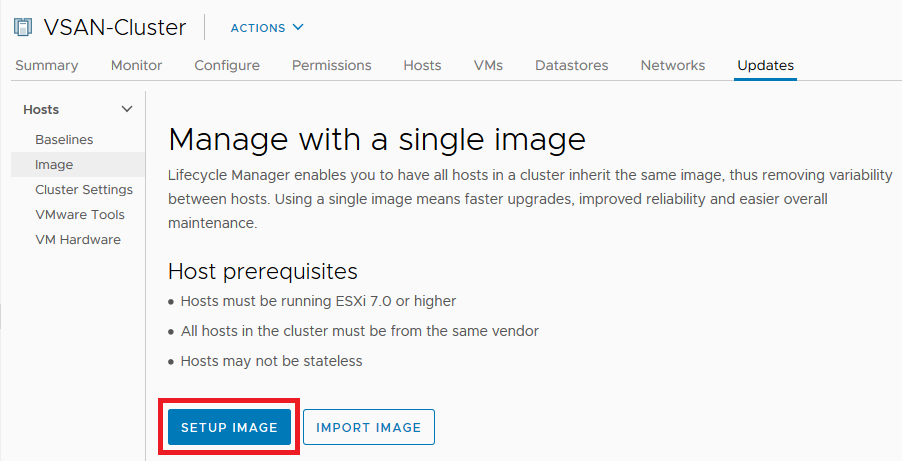
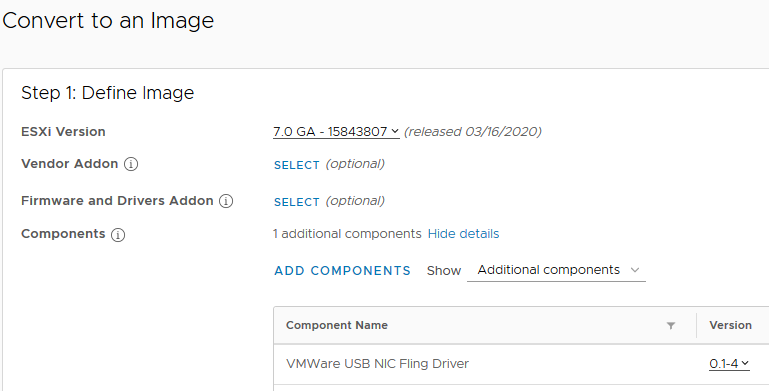
We start with SETUP IMAGE
– Select ESXi version
– ADD COMPONENTS – example VMWare USB NIC Fling Driver
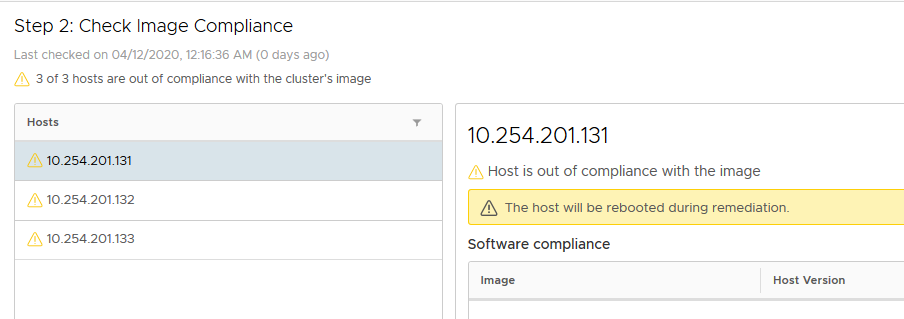
Check Step 2
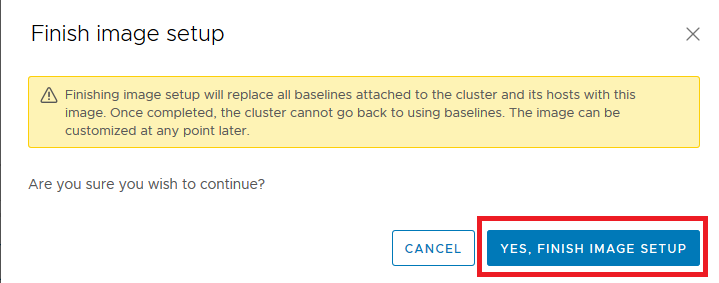
FINISH IMAGE SETUP with YES
Baselines menu disapear …
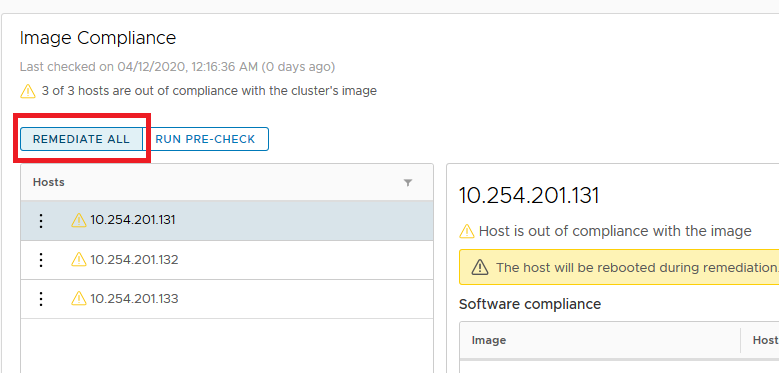
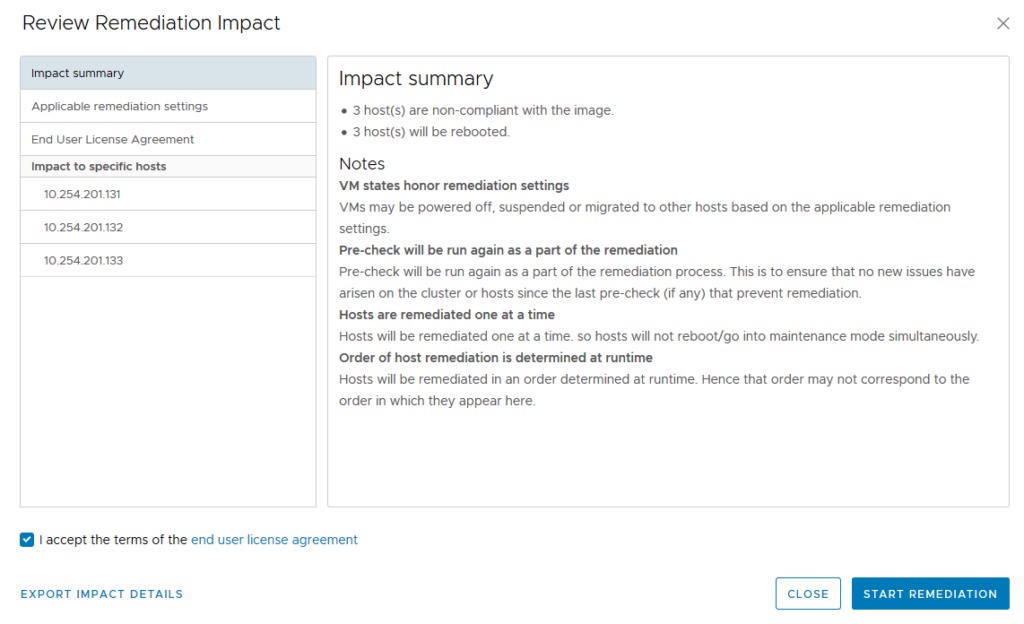
REMEDIATE ALL – start dialog
START REMETIATION will install our example VMWare USB NIC Fling Driver

vSphere 6 Update Manager -> vSphere 7 Lifecycle Manager : upgrade ESXi 6.7 to ESXi 7

vSphere Update Manager – vSphere 6

In vSphere 6 we can use various methods and tools to deploy ESXi hosts and maintain their software lifecycle.

To deploy and boot an ESXi host, you can use an ESXi installer image or VMware vSphere® Auto Deploy™. The availability of choice options results in two different underlying ESXi platforms:

  • Using vSphere Auto Deploy – stateless mode
  • Using an installer ESXi image – statefull mode

vSphere Lifecycle Manager Images: A Single Platform, Single Tool, Single Workflow

By introducing the concept of images, vSphere Lifecycle Manager provides a unified platform for ESXi lifecycle management.
You can use vSphere Lifecycle Manager for stateful hosts only, but starting with vSphere 7.0, you can convert the Auto Deploy-based stateless hosts into stateful hosts, which you can add to clusters that you manage with vSphere Lifecycle Manager images.

How to Upgrade ESXi 6.7 to 7 with vSphere Lifecycle Manager?

After upgrade VCSA 7.0, We prepare upgrade for ESXi 6.7. It is simular logic like in vSphere Update Manager:

IMPORT ISO – We can upload ISO for example VMware-VMvisor-Installer-7.0.0-15843807.x86_64.iso
Step 1 of 2 – Uploading file to server
Step 2 of 2 – Adding to repository
After ISO upload We could check ISO image context
Next step is Create Baseline
Create Baseline – for ISO image
Select uploaded ISO image
Check summary
On Targer Cluster We attach our Baseline
Select ESXi 7 Baseline
– Check Compliance
– We can see Non-compliant for 3x ESXi host
REMEDIATE will start upgrade dialoge
It is necessary accept EULA
REMEDIATE will start ESXi 7 upgrade
In Recent Task We caould chek progress.
We can check ESXi 7.0 upgrade result.